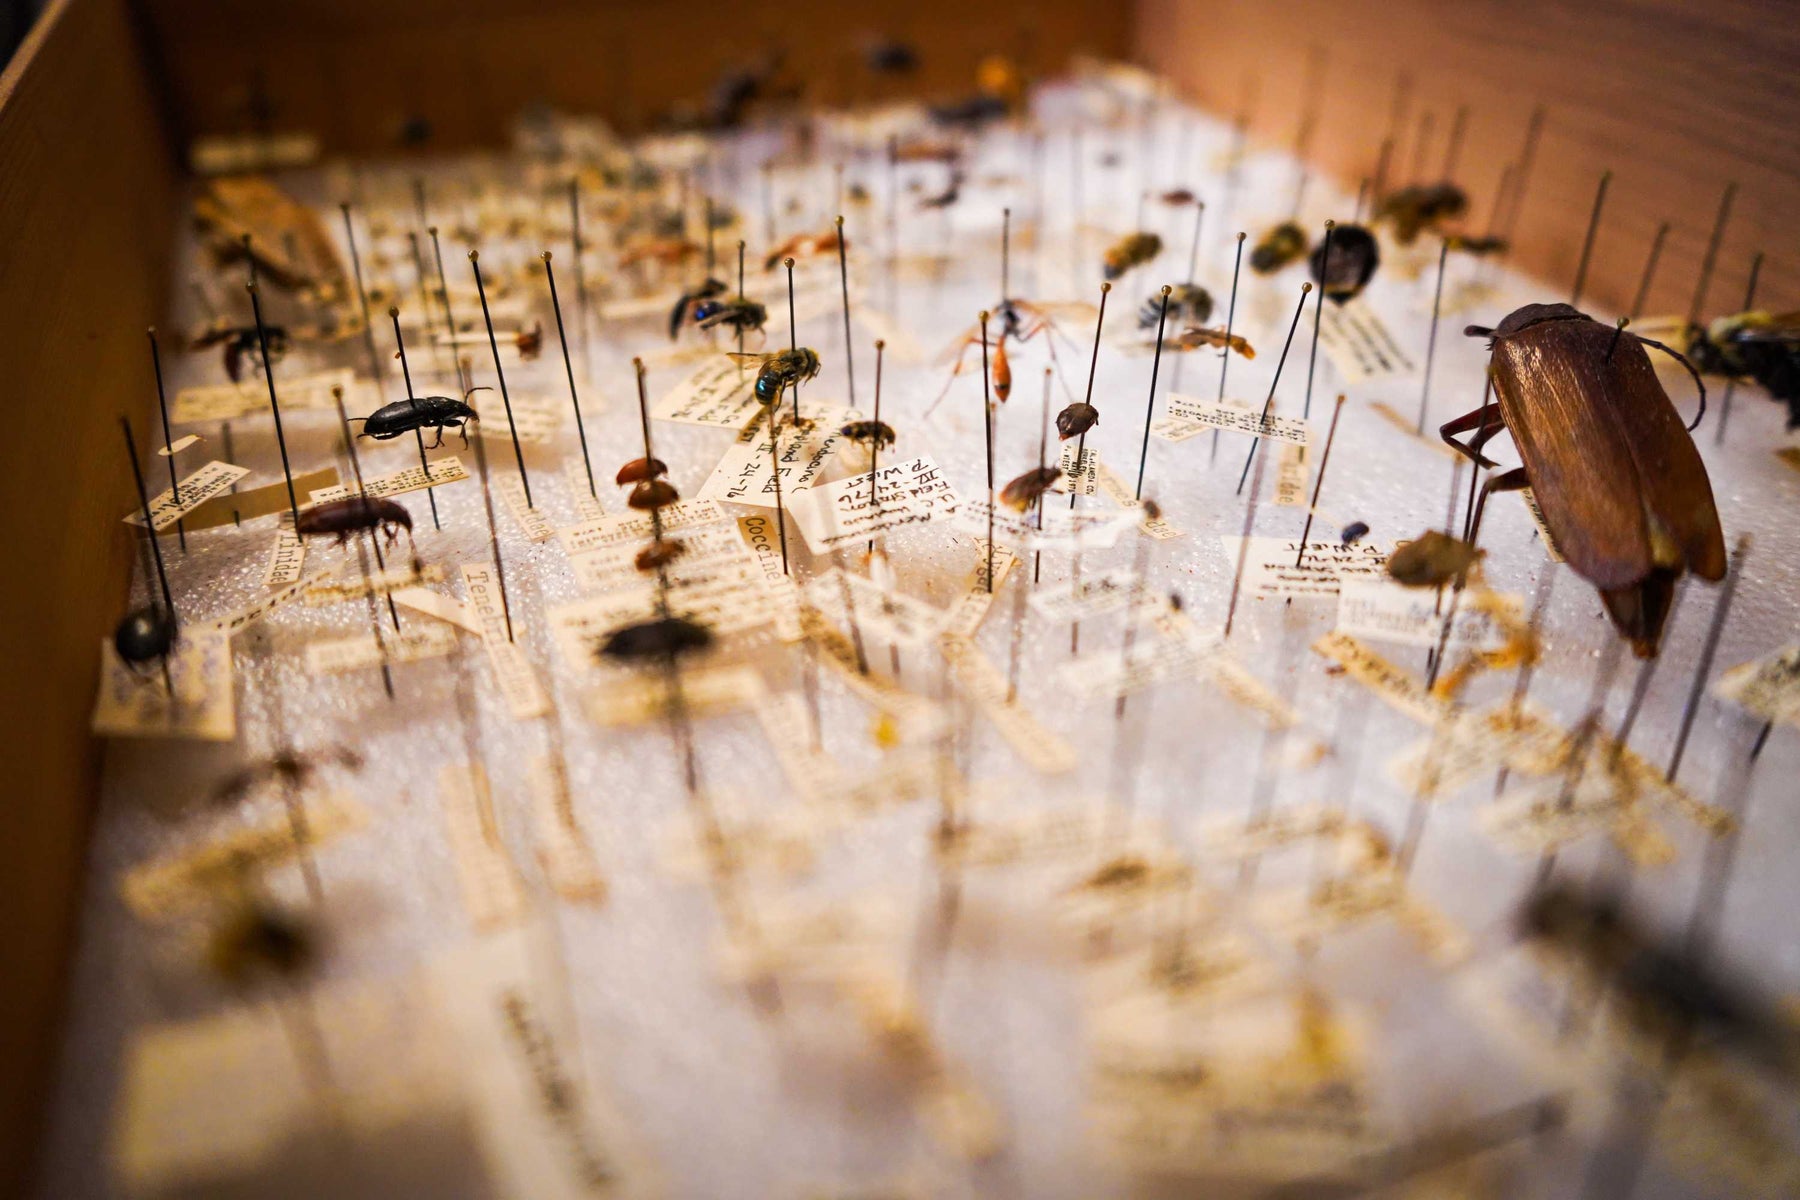
How to Start Your Own Insect Collection
A Step-by-Step Guide to Building an Impressive Insect Collection for Beginners
Building an insect collection can be a fascinating hobby that allows you to explore the incredible diversity and beauty of the insect world. Whether you are a nature lover or simply curious about insects, creating your own collection can be a rewarding and educational experience. In this step-by-step guide, we will walk you through the process of building an impressive insect collection from start to finish.
Step 1: Research and Identify
The first step in building an insect collection is to research and identify the insects you want to collect. There are millions of insect species, so it's important to narrow down your focus. Choose a group of insects that interests you the most, such as butterflies, beetles, or dragonflies.
Next, gather resources such as field guides and online databases to help you with insect identification. Learn about the characteristics and habitats of the insects you want to collect. This knowledge will be essential when you are in the field looking for specimens.
Step 2: Equipment and Supplies
Before you start collecting insects, you'll need some basic equipment and supplies. Here is a list of essential items:
- Insect net
- Killing jar
- Pinning board
- Insect pins
- Pinning forceps
- Display case or box
- More
Make sure to invest in quality equipment that will last. This will ensure that your specimens are well-preserved and properly displayed in your collection.
Step 3: Collecting and Preserving
Now that you have your equipment ready, it's time to go out and collect insects. Visit areas with diverse habitats such as forests, meadows, or wetlands. Be respectful of nature and collect only a few specimens of each species to avoid disrupting the ecosystem.
Use your insect net to catch the insects gently. Transfer them into the killing jar to humanely euthanize them. This step is crucial for preserving the specimens. Once the insects are properly immobilized, carefully pin them through the thorax onto the pinning board.
After pinning, let the specimens dry for a few days to ensure they are fully preserved. You can then transfer them to a display case or box, arranging them in a visually appealing manner.
Step 4: Documentation and Organization
Don't forget to document your collection! Label each specimen with relevant information such as the species name, location, and date of collection. This information will be valuable for future reference and research.
Organize your collection by grouping specimens according to their classification or habitat. This will make it easier to navigate and showcase your collection to others. Consider using specialized storage solutions like entomological drawers, cabinets or frames to protect your specimens from damage.
Step 5: Continuing Education and Networking
Building an insect collection is a lifelong learning experience. Stay updated on the latest research and discoveries in the field of entomology. Attend workshops, conferences, and insect fairs to meet other enthusiasts and experts. Joining local or online entomological societies can also provide valuable networking opportunities and resources.
Share your collection with others by hosting exhibits or giving presentations at schools or community events. Educating others about the importance of insects in our ecosystem can help raise awareness and appreciation for these fascinating creatures.
Conclusion
Building an impressive insect collection is a fantastic way to connect with nature and explore the incredible world of insects. By following this step-by-step guide, you will be well on your way to creating a valuable and visually stunning collection that can be enjoyed for years to come.
